Continuous Integration & Drupal at LimoenGroen
To increase the quality of delivery
What is Continuous Integration?
Continuous integration (CI) is the practice of frequently integrating one's new or changed code with the existing code repository.
Source: Wikipedia
In practice this means that ideally the Drupal website that is being developed is build / updated and tested automatically after every commit by a developer increasing the overall quality of the development process.
Why do we need it?
Everyone can probably remember the process of developing a website in Drupal by configuring some functionality on a development environment and having to perform (part of) the exact same steps again on one or more target environments. Developing this way has the risk of human errors and the amount of time needed to get functionality to the production environment can be high. This possibly results in frustrated customers and developers when bugs arise on the production environment that were not there in earlier stages of the development process.
When you have CI in place you eliminate the manual steps (as far as possible) and you will get instant feedback on the quality after every commit. Also, by automating deployments, a deployment that is successful on the test environment will almost certainly also be successful on the production environment and take far less time to perform. Lastly developers can continue working on something else while the CI tool takes care of the deployments saving them a lot of time.
So implementing CI in your development process has the following advantages:
- Eliminating human errors.
- Direct feedback on every commit.
- Saving time.
- Less downtime of the production environment during deployments.
- Deployments are always performed in the same way so they become more predictable.
What tools do you need?
The minimal set of tools you need to implement CI in the Drupal development process are:
- Drupal 7: Features, Context, and update/alter hooks to store ALL configuration in code.
- Drupal 8: Configuration exports, update/alter hooks and event subscribers (optionally using the config_split module to differentiate your configuration per environment for instance)
- A version management system like Git.
- A CI tool like Jenkins.
- Drush on every target environment and on the CI tool server.
- SSH access from the CI tool server on the target environment.
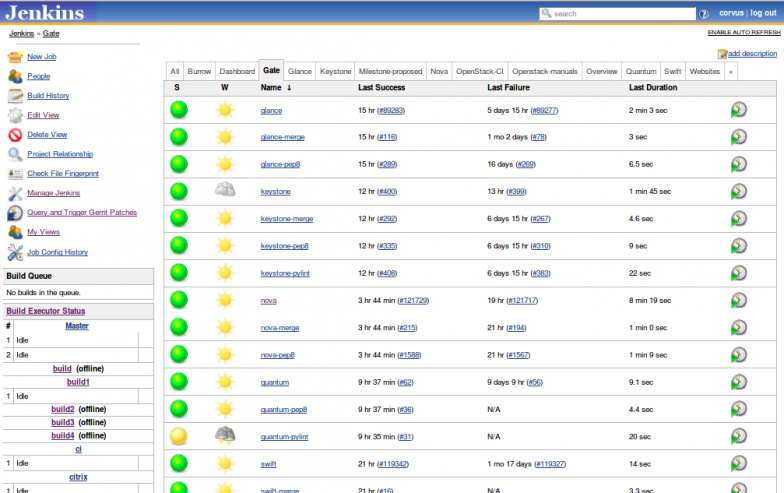 Example of the Jenkins dashboard
Implementation of CI in our development process
At LimoenGroen we have been using CI in our Drupal development process for over 5 years now. A rough sketch of our process is the following:
Building test environments
After every push of commits to Git a trigger is sent to Jenkins that starts the appropriate job to immediately build the corresponding test environment.
The Jenkins job that builds a test environment consists of the following build steps:
- Pull latest commits from develop branch in Git (and updating any Git submodules included in the project)
- Check the committed code for code style (Drupal coding standards) and possible commits of debug code (dpm(), var_dump()).
- Update the code on the test environment (drush rsync)
- Apply updates (Drupal 7: drush updatedb / drush features-revert-all; Drupal 8: drush config-import / drush config-split-import)
- Disable UI and devel modules
When a build fails at any of the build steps an e-mail is sent out to all of the developers that were involved in the commits that triggered the build so they can investigate and fix any errors.
Building acceptance environments
Essentially the job to build an acceptance environment is exactly the same as the job to build the test environment. The only difference is that the job is not triggered by Git, but by a manual start. We only want the acceptance environment to be build when we have a completed set of functionalities for a next release.
Building production environments
The production environment is built from the master branch in Git. Also a tag is required to start the production build job which means that a release has been accepted by the product owner after testing on the acceptance environment and the release has been tagged in Git.
The Jenkins job that builds a production environment consists of the following build steps:
- Pull latest commits from master branch in Git (and updating any Git submodules included in the project)
- Make a backup of the current production website database or complete archive (drush sql-dump / drush archive-dump)
- Schedule downtime in the monitoring tool (Nagios in our case)
- Put the website in maintenance mode (drush variable-set)
- Update the code on the production environment (drush rsync)
- Apply updates (Drupal 7: drush updatedb / drush features-revert-all; Drupal 8: drush config-import / drush config-split-import)
- Get the website out of maintenance mode (drush variable-set)
Jenkins setup and scripts
We run a Jenkins instance on a Tomcat application server. Our target environments run on several other servers, so Jenkins needs to be able to remotely execute drush commands. We have created several shell scripts that take arguments to actually call the required drush commands. Next to that we use drush alias files (read more about alias files in this blog post by Baris Wanschers) to execute the drush commands on the appropriate target. Of course the Jenkins system user has to have the ability to send ssh commands to the target environment without being prompted for passwords (by using public/private key authentication).
For example the shell script that applies the updates on a Drupal website calls 'drush fra' like this:
...

if /usr/local/bin/drush @$ALIAS fra -y

  then

    echo "Features reverted successfully."

  else

    echo "Reverting features failed!"

    exit 1

fi

...
The corresponding build step (Execute shell) in Jenkins calls the shell script like this:
/usr/share/jenkins/scripts/apply-updates.sh -a example.prod
The '-a' argument indicates which alias to use and differs per Jenkins job. You can use 'Getopts' in your shell scripts to use arguments like this.
Jenkins will respond to the return value from the shell script to see if the step was successful or a failure. That is what the 'exit 1' (or 'exit 0' at the end of the shell script) is for.
This way you can execute any drush command from Jenkins using variables to make the build step project specific. Jenkins also provides useful environment variables for each build that you can use as an argument. For instance the shell script that updates the code on the target environment needs to know where the Git repository of the Jenkins job is located. Jenkins provides the '${WORKSPACE}' variable for that so the script is called by the Jenkins build step (Execute shell) like this:
/usr/share/jenkins/scripts/update-code.sh -a example.prod -w ${WORKSPACE}
By splitting up the scripts into separate generic small steps in the build process we can create jobs in Jenkins that suit the specific needs for each target environment without having to create scripts for each project. For instance: making a backup on each build on the test environment might not be required.

Example: separate build steps in Jenkins job
To make sure that a production environment can only be built with a tagged release we use the Git Parameter Plug-in to require a user to enter the name of a tag before the build starts and use that name to build the specific release.

A tag is required to start a production job.
Triggering Jenkins from Git
You can configure Jenkins (or use the Github plugin for Jenkins) to be triggered remotely. Github and Bitbucket hosted Git services provide the ability to configure webhooks for each of your repositories that will send a request after receiving commits. If you run your own Git server it will probably have a similar feature.
Example: Hooks in Bitbucket
Updating issue information
We use Redmine for issue management. Using the same hooks that we use to trigger Jenkins we also trigger Redmine to pull the latest commits from Git and use the commit messages to link commits to issues and possibly update the status of an issue. A developer can for instance indicate an issue is resolved by including 'Fixes #1234' in his/her commit message. Redmine will set the status of issue #1234 to 'Resolved'